
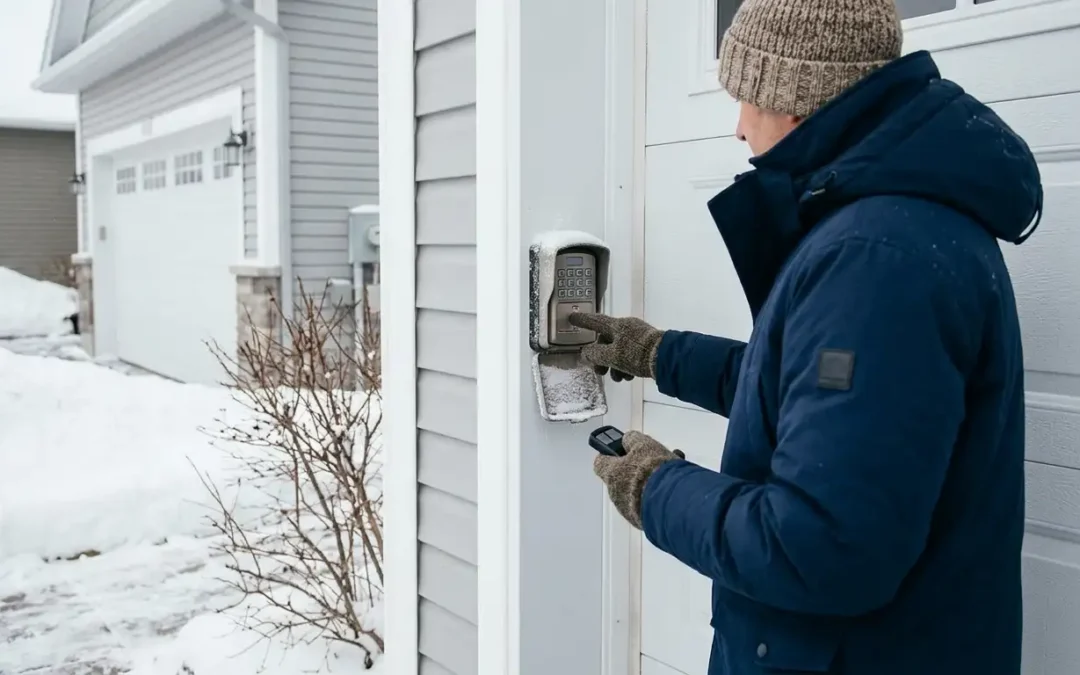
A garage door keypad and remote are the two things you touch every day, and setting them up is usually a five-minute job once you know the steps. Whether you have just moved into an Ottawa home and inherited an opener with no remotes, replaced a lost one, or want a keypad so the kids can get in without a key, the process is the same handful of steps on most modern units.
This guide walks through pairing a remote, programming an outdoor keypad, changing the code, and setting up guest access, plus the one Ottawa-specific detail an outdoor keypad needs to survive winter. It is a setup guide, not a repair guide, so if your keypad or remote has suddenly stopped working rather than needing to be programmed, that points to a different fix we will flag at the end. As a company Ottawa homeowners rely on for garage door opener installation, Amigo Door sets these up every week.
Keypad vs Remote: What Each One Does
A remote is the handheld (or visor-clip) transmitter that opens the door from your car. A keypad is the weatherproof panel mounted outside the garage that opens the door when you enter a PIN, so you can get in without a remote or a key. Both talk to the same opener motor, and both are programmed to it the same basic way: you put the opener into a learning mode, then teach it the new device.
Most LiftMaster and Chamberlain openers, which are the units we install, use a learn button on the motor head to do this. The exact labels and light colours vary by model, so keep your opener’s manual handy, and if you are planning a new opener anyway, our guide to the best garage door openers for Ottawa homes covers which models suit our climate.
Before You Start: What You Need
Setup goes smoothly with a few basics ready. You need access to the opener motor unit on the ceiling, since the learn button lives there, and a stable ladder to reach it. Have the new remote or keypad and fresh batteries on hand, and know your opener’s brand and model in case the steps differ slightly. For a keypad, pick a PIN you will remember but that is not obvious, and decide where on the door frame it will mount within reach of the opener’s signal.
If you are unsure which opener you have or whether it supports a keypad, that detail is worth confirming before you buy a device, and our guide to belt drive vs chain drive openers explains the common unit types you may be working with.
How to Program a Garage Door Remote
Pairing a New Remote to Your Opener
The core process is the same on most units:
- On the motor unit, press and release the learn button. An indicator light will turn on, and you usually have about 30 seconds to complete the next step.
- Within that window, press and hold the button on your new remote until the opener’s light blinks or you hear a click, which signals the remote has been accepted.
- Test it by pressing the remote. The door should open or close.
If nothing happens, the learning window likely closed before you pressed the remote, so start again and move a little faster. New remotes also need the battery installed with the correct orientation, which is a common reason a fresh one seems dead.
Programming a Car’s Built-In Buttons (HomeLink)
Many vehicles have built-in buttons (often branded HomeLink) that can replace a clip-on remote. Programming them pairs the car to the opener the same way, usually by holding the car’s button and the opener’s learn button in sequence. The steps vary by vehicle and opener combination, so follow both manuals together. Newer rolling-code openers sometimes need an extra step at the motor unit to accept the car, which is normal.
How to Program a Garage Door Keypad
Setting Up the Keypad and PIN
A wireless keypad is programmed to the opener and given a PIN:
- Install the keypad’s battery and, if it is a new keypad, enter the factory PIN or follow the prompt to create your own, per the keypad’s instructions.
- Press the learn button on the motor unit so the indicator light comes on.
- At the keypad, enter your chosen PIN and press enter or the program key within the learning window. The opener light should blink to confirm.
- Test the PIN at the keypad. The door should respond.
Mount the keypad once it works, keeping it within reach of the opener’s signal and clear of where it would take direct spray off the driveway.
Changing or Resetting the Code
Changing a keypad PIN is a routine security step, worth doing when you move in, when someone who had the code no longer needs it, or just periodically. Most keypads let you enter the current PIN followed by a program sequence to set a new one, and a full reset (holding a button to wipe all codes) is available if you have forgotten the PIN entirely. After a full reset you re-pair the keypad to the opener using the steps above.
Adding Temporary and Guest Access
One of the most useful reasons to set up a keypad is access without handing out remotes. A keypad lets a dog walker, cleaner, or family member in with a PIN you can change afterward. If your opener is Wi-Fi capable, you can go further and grant time-limited digital access from your phone, which is exactly what our guide to the Wi-Fi garage door opener and MyQ setup walks through. Connected openers also log every open and close, and our overview of smart garage door openers covers the guest-access and monitoring features in more detail.
Winter and the Outdoor Keypad in Ottawa
An outdoor keypad has to survive our winters, and a little planning keeps it reliable. Cold drains keypad batteries faster, so a keypad that works all summer can go unresponsive on the first deep-cold morning simply because the battery is low, which makes a fresh battery before winter a smart habit. Mount the keypad where it gets some shelter from driving snow and ice if possible, and clear ice off the keys rather than forcing them. Keeping batteries fresh is part of the seasonal routine in our guide to preparing your garage door for an Ottawa winter.
When Programming Does Not Solve It
If you have followed the steps and the device still will not pair, or a keypad and remote that used to work have both stopped, the issue is usually hardware rather than programming. A failing logic board, a worn learn button, a misaligned antenna, or dead safety sensors can all mimic a programming problem. At that point our garage door repair team can diagnose the opener, and our guide to garage door repair costs shows where remote reprogramming and sensor work sit among common service calls.
Keypads and Remotes on Commercial Doors
Access control matters even more on a commercial door, where a business may want several staff able to open a bay and a clear record of who did. Commercial openers support keypads, multiple transmitters, and connected controls, and our commercial door operators cover the range used on larger commercial and overhead doors. The programming principle is the same, scaled to more users and heavier doors.
Professional Setup and Service
If you would rather skip the ladder and the manuals, we handle setup end to end, including pairing remotes, programming keypads, and configuring app access on a new unit. This is part of our garage door opener installation and residential garage door service, and if you are pairing a keypad with a brand-new door, our professional garage door installation can set the whole system up at once. Confirm coverage for your community on our areas of service page.
The Bottom Line
Programming a garage door keypad or remote comes down to one idea: put the opener into learning mode with the button on the motor unit, then teach it the new device, and test. Set a PIN you will remember, change it when access changes, keep an outdoor keypad’s battery fresh for winter, and you will have reliable, key-free entry year-round. If a device simply will not pair, that is a hardware question for a technician rather than a programming step.
Want it set up for you, or need an opener looked at? Contact Amigo Door at 1-613-821-2898 or visit our contact page to book a visit.
Recent Comments